How to Create a Seamless Repeat on Your iPad with Pixelmator

Are you ready to take your surface patterns to the next level? Learn how to create a seamless repeat for custom printed fabric with our step-by-step tutorial and free digital design elements. You won't believe how easy it is!
If you've been following the blog, by now you've learned how to turn your drawings into a seamless repeat in eight easy steps, seen how to design a seamless repeat in Procreate with Anda Corrie, and how to take your drawings from paper to pixel with Photoshop. So what else could there be to learn? We're so glad you asked! Today we're welcoming Liz Brown, one member of the dynamic duo better known as thinlinetextiles, and Spoonflower team member, to share how to create a seamless repeat on your iPad with Pixelmator. This design tool is your one-stop-shop for creating, editing and enhancing your images.
Liz: I absolutely love making drawings and illustrations on my iPad, but I always assumed that to create a seamless repeat I would need to use my computer at some point in the process. Then I discovered the Pixelmator app, which makes it easy to create a repeat pattern from start to finish without using a computer at all!
You can either create your repeat elements in Pixelmator or create them in an app like Procreate or Adobe Sketch, then use Pixelmator to build the repeat pattern. I’ll show you both options below, so no matter how you like to create your repeat elements you can use this process.
Here’s What You’ll Need:
An iPad
The Pixelmator App for iPads
A Stylus or Apple Pencil (recommended but not required)
-Prefer to follow along via video?
Join Liz for her Skillshare class on Creating Seamless
Repeat Patterns!
-
Step 1: Create Your Repeat Elements
If you want to use my repeat elements to try out this process, you can download them for free here. If you’re ready to make your own repeat elements, choose one of these options:
Option 1: Draw Your Repeat Elements in Pixelmator
Open Pixelmator, click the + symbol to create a new image, then click Custom to enter the image size. I’ll be working at 3 x 3 (7.62 cm x 7.62 cm) at 150 dpi (which is 450 x 450 pixels). I’m using this size because I want each repeat element to be about 2-3 (60.96 cm-7.62 cm) tall, but you could work at any size. Click Create to open the image.
Swipe from the left of the screen to open the layers panel. Then create a new transparent layer by clicking the + symbol, then click the transparent layer option. Use the drawing tools to draw and color your repeat element. To delete an image, click on the layer, then click Delete. You can draw by hand, or trace an image on a separate layer.
To trace an image, click the + symbol, and insert an image from your photos. Then make a new transparent layer for your tracing lines. To make it easier to see your tracing lines, click on the image layer, select Format, then reduce the opacity of the image.
Pro tip: If you use the tracing method, just be sure to use photos that you took yourself, or images that are okay for commercial use. Here are two sites that provide images that are free for commercial use: Pixabay and Unsplash.
Once you’re happy with your drawing, remove the white background by clicking the background layer, and selecting Hide. Then, save the drawing as a PNG file by clicking the share button in the top right corner, then click Send a Copy and choose PNG as the file type.
Click Save Image to save the image to your iPad Photos. Continue this process with each repeat element you want to create.
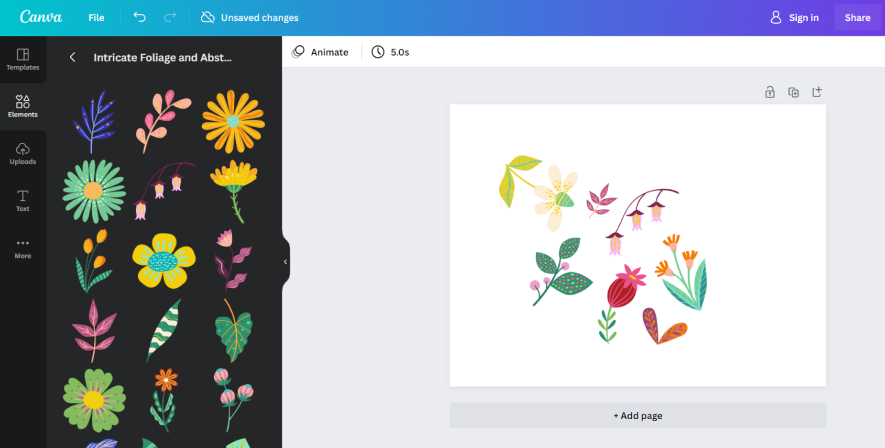
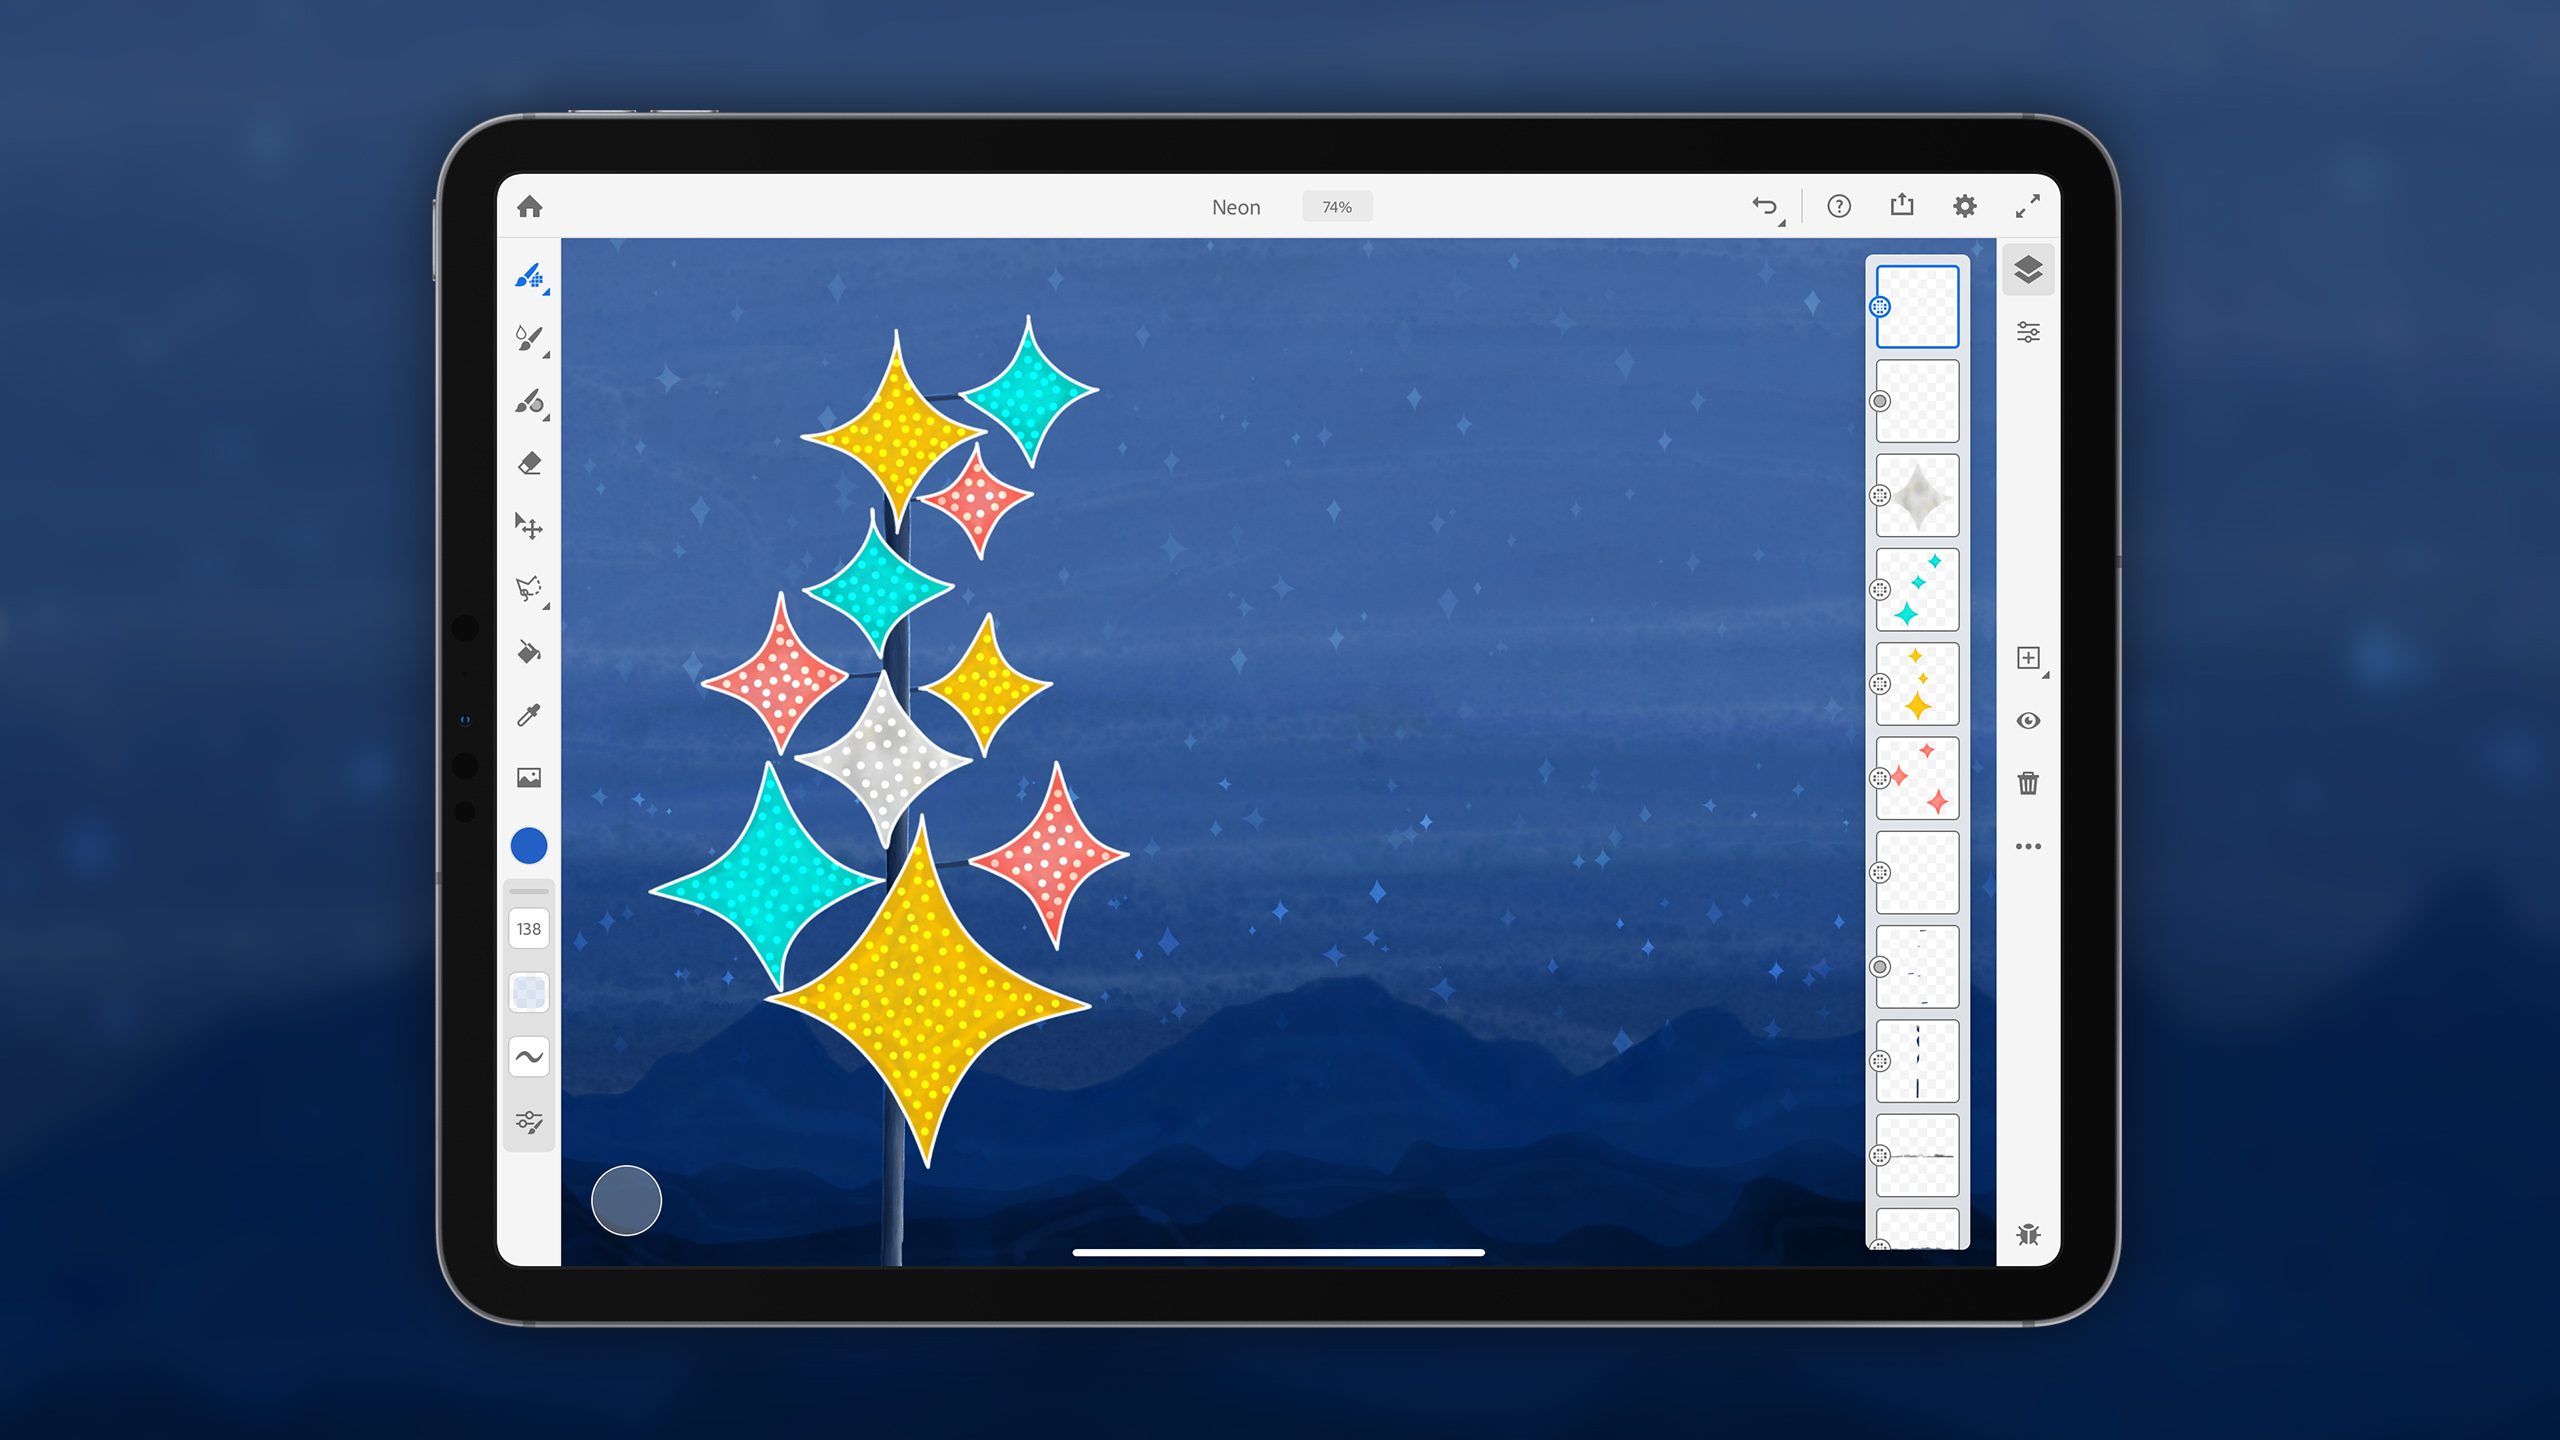
Option 2: Draw Your Repeat Elements in a Separate App
1. You can draw your repeat elements in a program like Procreate or Adobe Sketch, and then import each drawing into Pixelmator. To do this, draw each repeat element on a separate document.
2. Next, remove the white background from the canvas, and export each drawing as a PNG file.
Step 2: Create Your Repeat Canvas
Open Pixelmator, click the + symbol to create a new image, then click Custom to enter the image size. I’ll be working at 10 x 10 inches at 150 dpi (1500 x 1500 pixels), but you could work at any size. Click Create to open the image. Swipe from the left side of the screen to open the layers panel. You can leave the background white, or change the background color with these steps: Click the layer, click Format, select Style, turn on Fill, and change the color.
Step 3: Place and Arrange Your Repeat Elements
Place your drawings one by one into your document in Pixelmator by clicking the + symbol in the top right corner, then selecting the image. Move, rotate, and resize the elements to your liking being careful not to let any of your drawings touch the edge of the canvas. To move an element, tap the drawing, then use your finger to move it around the canvas. To rotate an element, click on the layer, click Format, select Arrange, then move the slider.
When I organize my repeat elements, I try to vary the distance between the border and the drawings. Some drawings will be really close to the edge, while others will be 1-2 (30.48 cm-60.96 cm) away from the edge. This helps hide the repeat seam, and gives the repeat a playful scattered look.
Step 4: Save the Image as a PNG
Once you’re happy with the arrangement, save the image as a PNG file by clicking the share button in the top right corner, then click Send a Copy and choose PNG as the file type. Click Save Image to save it to your Photos on your computer.
Step 5: Create a New Image
Go back to the Pixelmator home page by clicking Images in the top left corner of the screen, then click the + symbol to create a new document. Use the same size that you used for your repeat block in step 2–I’m using 1500 x 1500 pixels.
Step 6: Place & Duplicate Your Repeat Block
Click the + symbol in the top right corner, click Photos, then click on the PNG file you just saved. Swipe from the left to open the layers panel, then duplicate the layer 3 times by clicking on the layer and clicking Duplicate.
Step 7: Offset the Repeat Blocks
Use your finger to offset the repeat blocks.
Watch the yellow guides on the top and left axis rulers as you place each repeat block exactly at 0, 0. This is the most important step, so go slow and double check your placement.
Step 8: Fill in the Center of Your Repeat
Option 1: Create a new transparent layer and draw repeat elements in the open spaces. Be sure not to let your new drawings touch the edge of the canvas.
Option 2: Insert the drawings you created onto the canvas one by one. Then use the move, resize, and rotate tools as you fill in the center.
Step 9: Test Your Repeat
Once you like the way your repeat looks, save it as a PNG like we did in step 4. Then create a new document that is two times the size of your original canvas. Since my repeat block is 1500 x 1500 pixels, I’m creating a 3000 x 3000 pixel document to test my repeat. Place your repeat block on the canvas by clicking the + symbol, and selecting the repeat block in your Photos. Duplicate the layer 3 times. Place the repeat blocks in each of the four corners of the canvas, using the magnetic ruler guides to be sure you are placing each block exactly at 0,0.
Zoom in to be sure the repeat elements match up perfectly where the repeat squares meet.
Step 10: View Your Pattern on Fabric, Wallpaper & Home Decor
I think seeing a repeat pattern on products can help you decide if you need to make any changes to your pattern, so I always do this as my last step. Log into your Spoonflower account and select Upload in the Design dropdown menu. Upload your PNG file. Once you've upload your pattern, you can view it on fabric, wallpaper, and gift wrap. You could even get started with selling your repeat pattern on Spoonflower!
Step 11: View Your Pattern on Finished Products
Seeing your pattern on finished products can help you get a sense of the scale you should use, plus it’s just awesome to see your repeat pattern on product mockups! After you've logged into your Spoonflower account, click My Dashboard at the top righthand side of the page. Select your pattern, then click on the products on the right to see your design for each product. '90s style placemats? Yes, please.
Step 12: Share your repeat pattern with the world!
Use #Spoonflower on Instagram or Facebook to share your repeat with the Spoonflower community.
But don't stop there! Spoonflower's weekly Design Challenges are a great way to practice your seamless repeat skills, find inspiration for your next design and connect with the Spoonflower community.
About the Guest Blogger
Liz Kohler Brown is an artist, illustrator, and teacher who loves helping people find their creative style through easy iPad drawing and painting tutorials. She shares tips, downloads, and classes for iPad users on her blog Water & Pigment. She’s been a Spoonflower fan/groupie for years, and even worked at Spoonflower as part of the Customer Support team and now helps out with managing Spoonflower’s Pinterest account. She loves collaborating with her husband in their Spoonflower shop thinlinetextiles.
How to create the perfect pattern for a summer crafts project

Pixelmator Blog

How to create the perfect pattern for a summer crafts project
Hands-on with Adobe Fresco for iPad - 9to5Mac

Organic Shapes – 100 Seamless Textures Graphics - YouWorkForThem
Photomator – Photo Editor on the App Store
Create Seamless Repeat Patterns On Your IPad In Procreate FREE Pattern Elements Liz Kohler Brown Skillshare

Create Seamless Repeat Patterns On Your IPad In Procreate FREE Pattern Elements Liz Kohler Brown Skillshare

How to Create a Seamless Repeat on Your iPad with Pixelmator - Spoonflower Blog

Make REPEATING PATTERNS on your iPad

TFL Tutorial - Create a Seamless Repeating Pattern Using Affinity Designer for the iPad

Pixelmator Blog
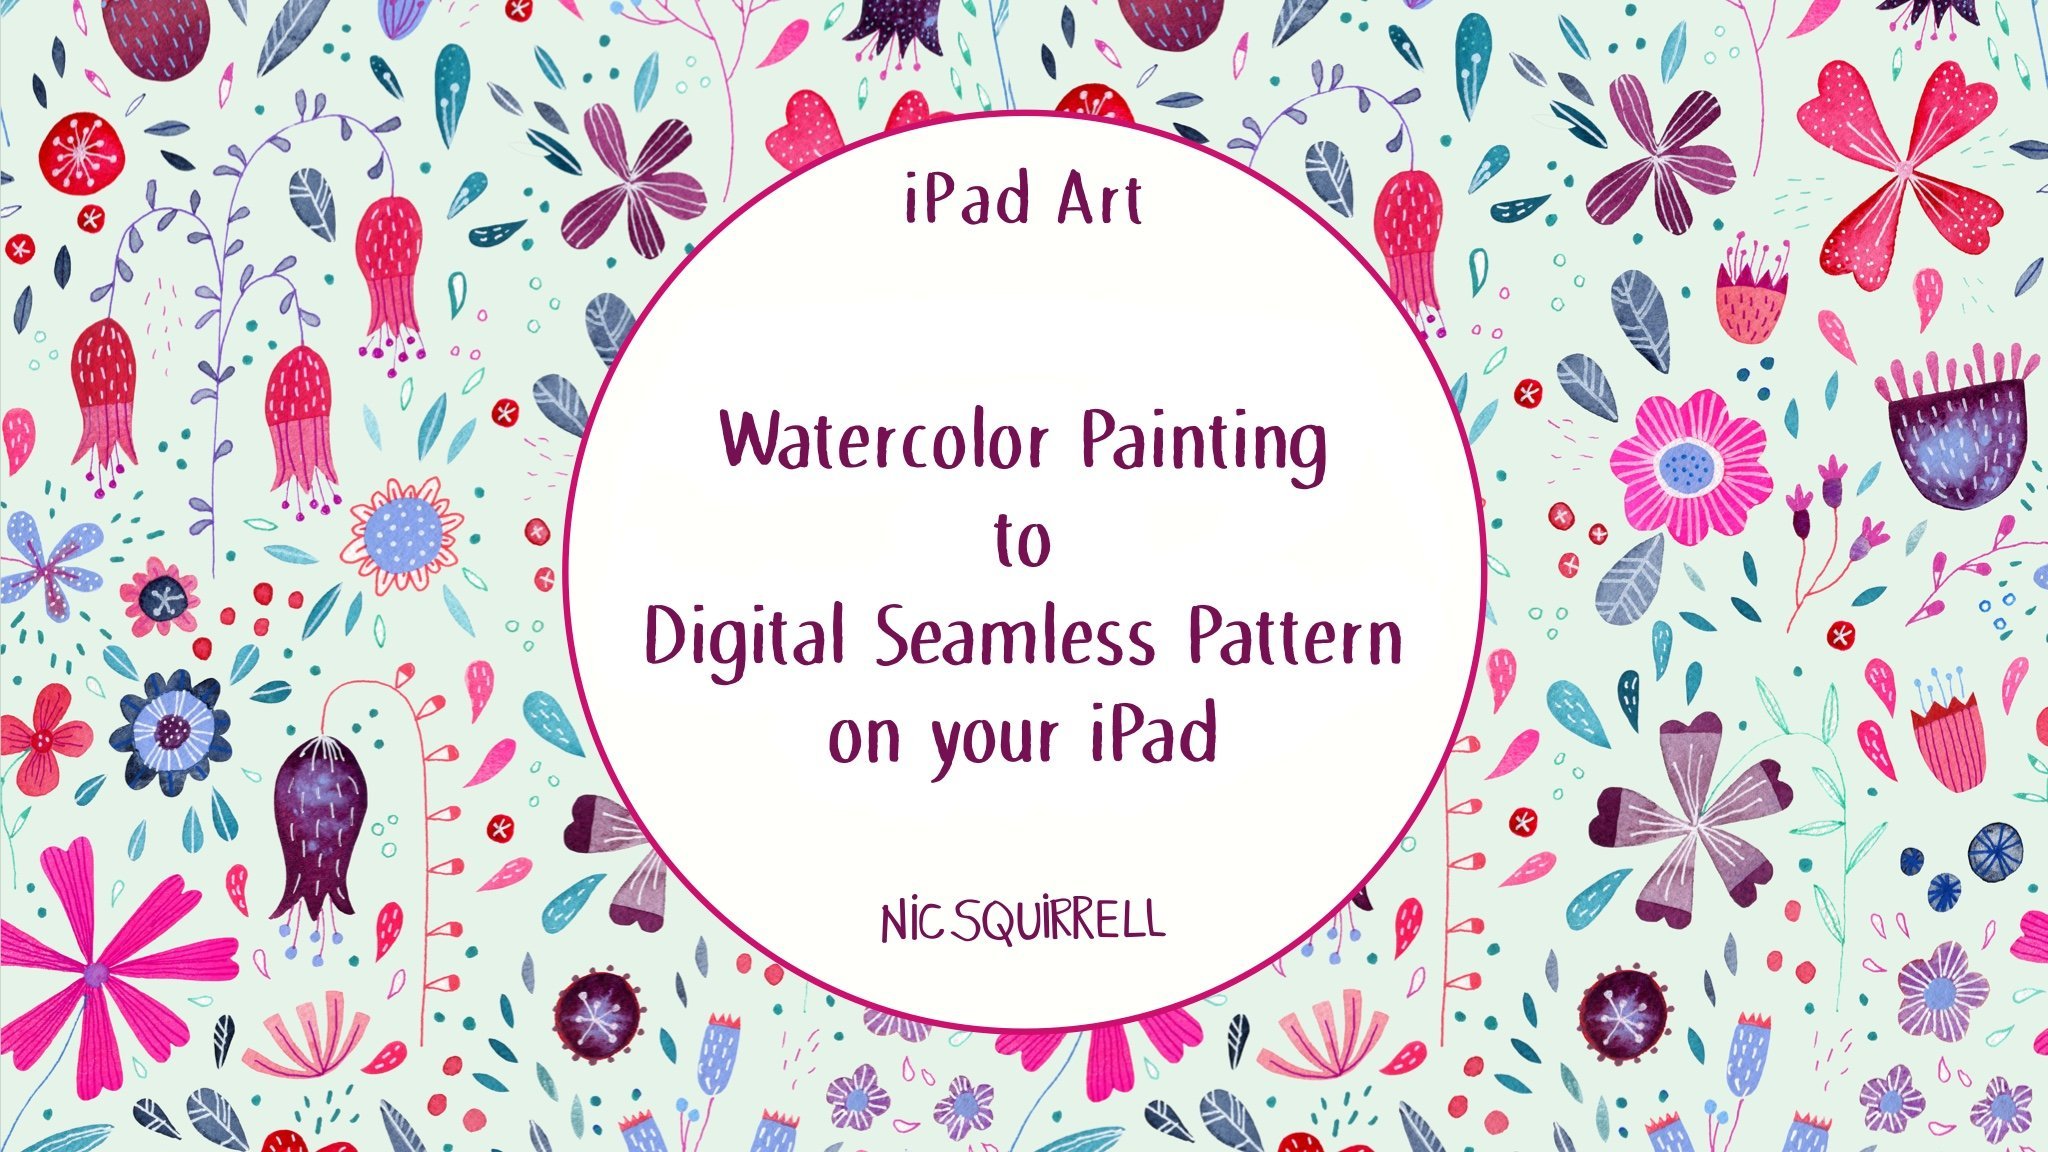
iPad Art: Watercolor Painting to Digital Seamless Pattern on your iPad, Nic Squirrell
MacRumors: Apple News and Rumors - Page 554